Arizona RV Roof Inspection After Monsoon Storms
🌟 Special Offers from Main Street RV
📞 Call 480-626-8845 – NO CITY SALES TAX!
🔋 Solar & Lithium Installs
Upgrade your RV with sustainable, off-grid power solutions.
🚐 Free RV Consignment
Let us help you sell your RV—no consignment fees!
⭐ Love Your Experience?
Leave us a Google review—we appreciate your feedback!
📍 Visit or Call Today
Stop by or call to schedule a viewing.
Your next adventure starts here!
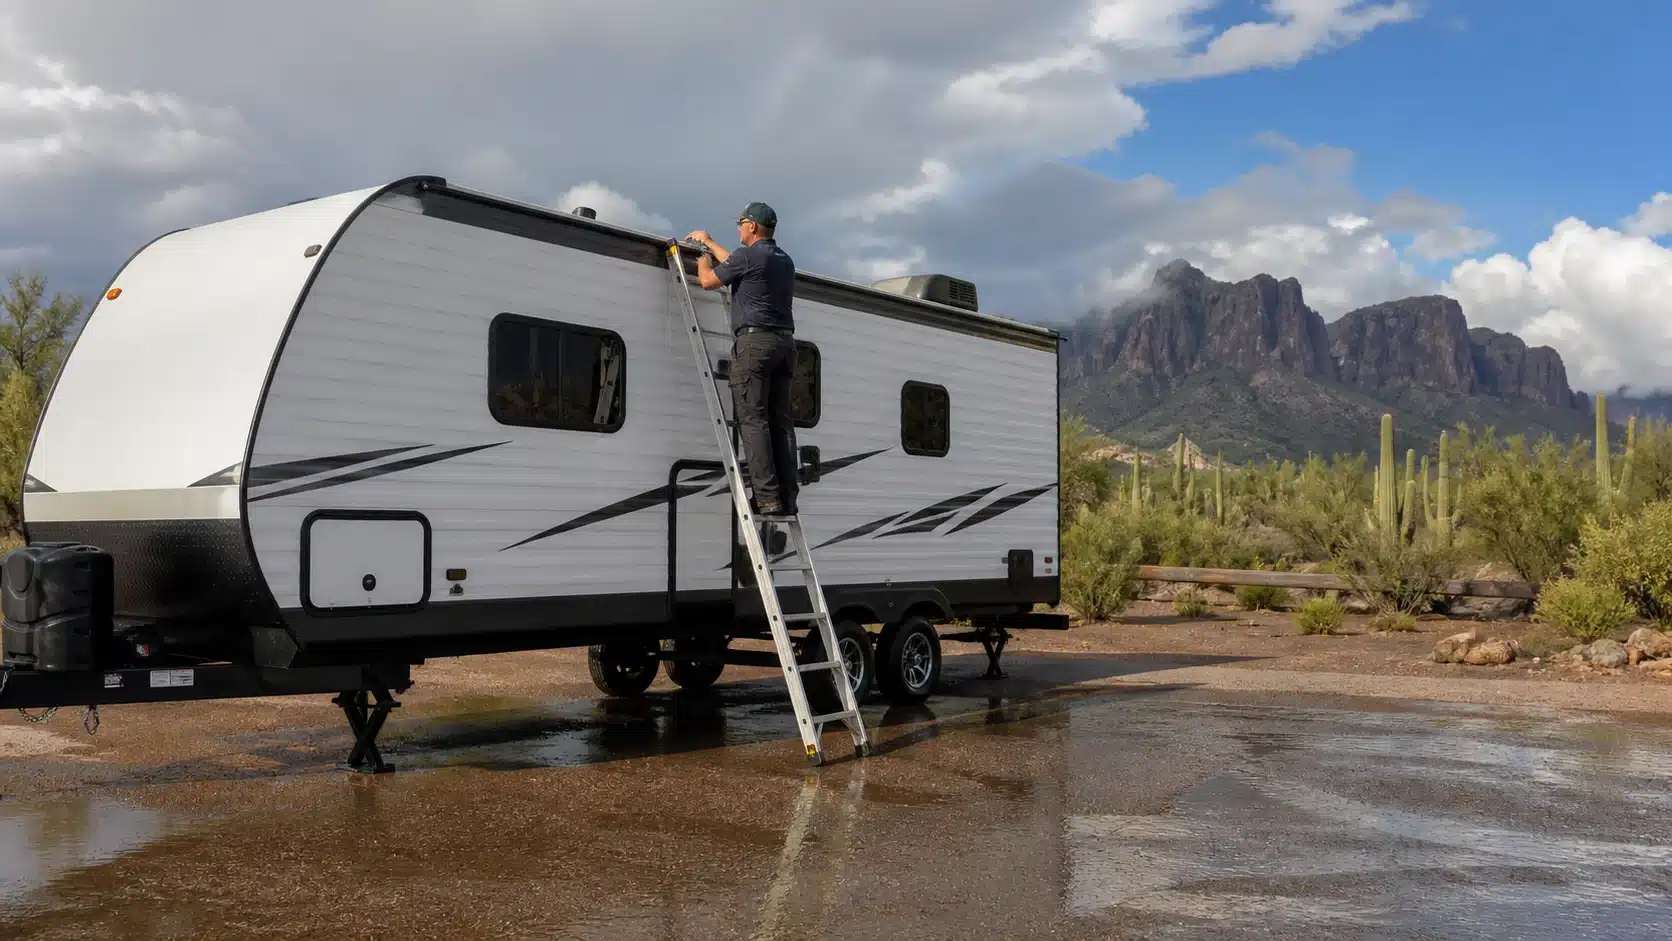
An Arizona RV roof inspection belongs near the top of your list after a strong monsoon storm. Wind-driven rain, airborne debris and sudden downpours can expose a weak seal that looked perfectly content during last week’s sunshine.
Water is a talented traveler. It may enter near a roof vent, follow framing or wiring, and finally appear several feet away as a ceiling stain. By then, the original opening may be harder to find—and the repair may be much larger.
The good news is that you can safely check many warning signs without turning your Saturday into an audition for a roofing crew. Here is where to look, what to document and when to call a qualified RV technician.
Safety first: Never climb onto a wet, damaged or unfamiliar RV roof. Confirm that your manufacturer permits roof access and follow its instructions. If you are unsure about the roof’s load capacity, ladder placement or your ability to work safely at height, arrange a professional inspection.
Begin your RV roof inspection from the ground
You can learn quite a bit without leaving the pavement.
Walk around the RV in daylight and look for:
- Tree limbs or other debris resting on the roof
- A roof edge that appears lifted, loose or uneven
- Damaged vent covers or air-conditioner shrouds
- Bent gutters or loose trim
- Torn awning fabric
- Separated corner molding
- Missing exterior lights or covers
- Fresh streaks running down a wall
- Water around windows, doors or storage compartments
Binoculars or a phone camera with optical zoom can help you examine elevated areas. Do not stand on a chair, cooler, tire or folding table for a better view. Those improvised observation towers tend to have very short careers.
Photograph anything unusual before moving debris or beginning cleanup. The pictures can help a technician understand what happened and may also be useful if you need to discuss the damage with your insurer.
Check the roof only when access is safe
If your RV manufacturer allows roof access and conditions are dry, inspect the ladder before climbing. Place any portable ladder on firm, level ground and follow its markings and load rating.
OSHA ladder guidance recommends facing the ladder, avoiding overreaching and maintaining three points of contact while climbing. It also warns against using unstable bases or carrying objects that could cause a loss of balance. Although OSHA rules are written for workplaces, those principles are sensible for RV owners too. Review the OSHA portable-ladder safety guidance.
When in doubt, stay down. A professional roof inspection costs less than a fall.
Look closely at every roof opening and seam
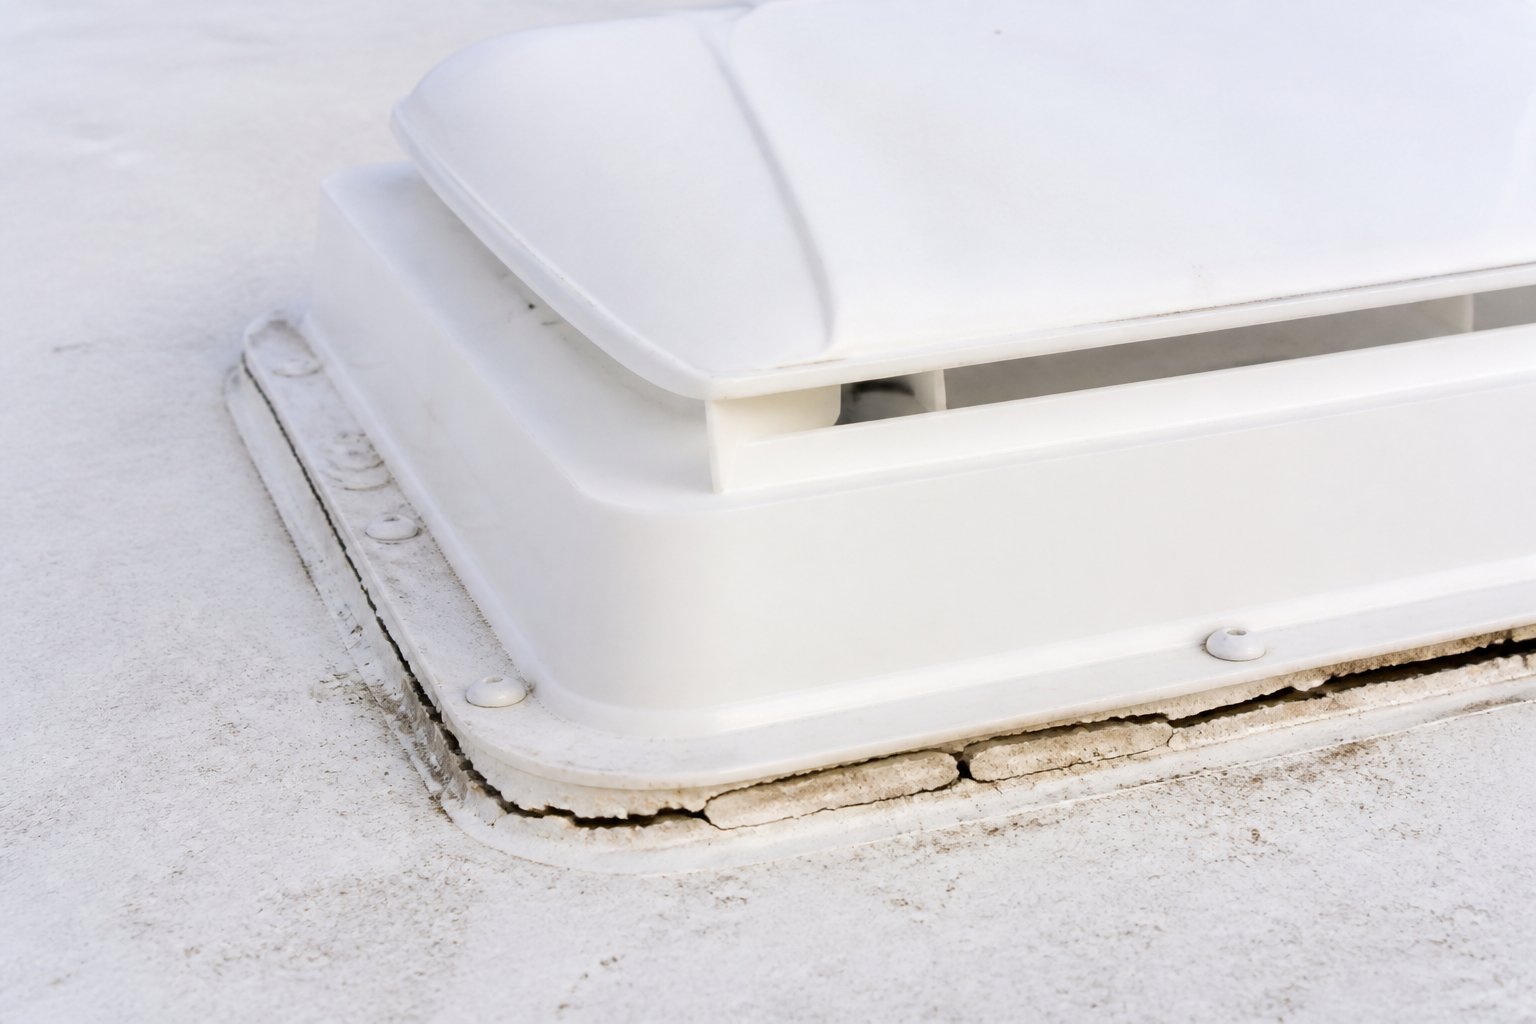
An RV roof is not simply one broad sheet. It contains openings, edges and mounted components where sealant and hardware must work together.
Inspect around:
- Roof vents and plumbing vents
- Skylights
- Antennas and satellite mounts
- Solar-panel mounting points
- Air-conditioner openings
- Front and rear roof seams
- Sidewall-to-roof transitions
- Ladder mounting points
- Any wire or cable passing through the roof
Look for sealant that is cracked, separated, blistered, missing or pulling away from a component. Also note exposed fasteners, loose hardware, punctures and cuts in the roof membrane.
Do not assume that a tube labeled “RV sealant” is compatible with every roof. Membranes and sealants vary. Use only products approved for your specific roof material and follow the RV, roof and sealant manufacturers’ preparation and application instructions.
If you cannot identify the roof material or an old coating, let a qualified RV roof professional select the repair system. Applying an incompatible product can complicate the original problem.
An Arizona RV roof inspection continues inside
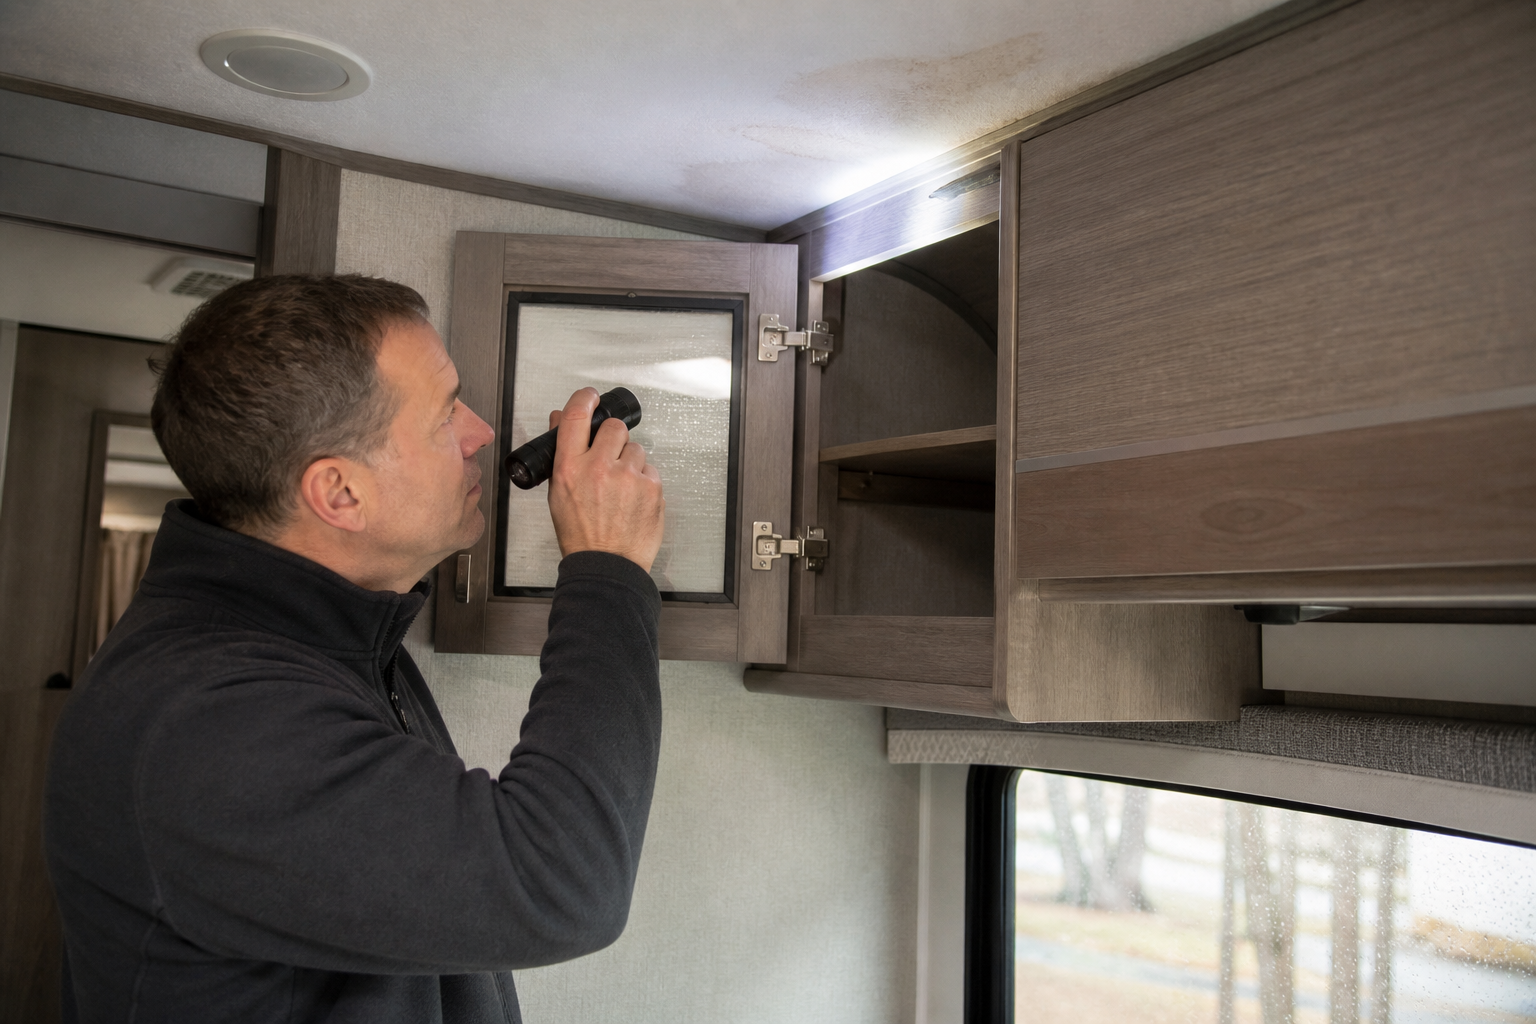
The first indoor clue may be subtle.
Open cabinets and look behind items stored against exterior walls. Check the ceilings, corners and areas around vents, skylights, windows and slide rooms.
Watch for:
- Yellow, brown or gray staining
- Ripples or bubbles in ceiling material
- Soft wall or ceiling panels
- Peeling vinyl or wallpaper
- Swollen wood or trim
- Damp carpet or flooring
- Rust around screws or metal fixtures
- Condensation in unusual locations
- A musty odor
- Discoloration inside upper cabinets
Use your fingertips gently. Do not push hard into a questionable ceiling or wall because wet material may already be weakened.
Check beneath mattresses and inside front storage areas as well. In some RVs, moisture hides where air circulation is poor rather than where the drip first becomes visible.
Pay special attention to slide rooms and windows
Monsoon rain does not always arrive politely from above. Wind can drive it sideways against window seals, slide-room corners and exterior trim.
Inspect slide seals for tears, folds, gaps and debris. Look along the upper corners and beneath nearby cabinets for moisture. If your RV has slide toppers, inspect them from a safe location for pooled water, tears or storm debris.
Around windows, look for gaps in exterior sealant and water tracks inside. Do not automatically cover drain or weep openings; they may be designed to let water escape. Consult the component manufacturer or an RV technician before sealing an opening whose purpose is uncertain.
If you find water, respond quickly
First, stop additional water from entering if you can do so safely. A temporary RV cover or professionally installed emergency patch may limit further damage, but avoid trapping water beneath plastic or tape.
Then:
- Photograph the affected areas.
- Move dry belongings away from the moisture.
- Remove standing water.
- Increase ventilation when outdoor conditions allow.
- Use air conditioning or a dehumidifier if electrical operation is safe.
- Arrange an inspection to find and repair the source.
Do not energize wet electrical equipment or open electrical panels. If water reached wiring, outlets, appliances, batteries or power-distribution equipment, disconnect power only if you can do so safely and have the system inspected by a qualified professional.
The EPA recommends drying water-damaged materials within 24–48 hours when possible to reduce the chance of mold growth. It also emphasizes that moisture control begins with correcting the leak. Read the EPA’s mold and moisture guidance.
Avoid the “just add more sealant” repair
A thick new bead may hide a failed area without fixing it.
A durable repair may require:
- Identifying the roof material
- Removing loose or incompatible products
- Cleaning and preparing the surface correctly
- Repairing damaged membrane or substrate
- Tightening or replacing mounting hardware
- Applying compatible primer, sealant, tape or coating
- Testing the completed repair
If the roof feels soft, sags, has a puncture or shows widespread separation, stop walking on it. Structural deterioration and trapped moisture require professional evaluation.
Roof-mounted solar equipment introduces additional electrical and mounting concerns. Have a qualified technician inspect damaged panels, wiring, penetrations or mounting hardware.
When to schedule professional RV service
Request professional help when you find:
- A soft roof, wall or floor
- Active dripping or widespread staining
- A torn or punctured roof membrane
- Lifted roof edges or separated seams
- Damaged air-conditioner, vent or solar mounts
- Water near electrical equipment
- Persistent musty odors
- Visible mold covering more than a small area
- Damage you cannot safely reach
- An unknown roof or sealant material
- A repair that may affect the RV’s structure or warranty
Main Street RV’s RV service department helps owners in Apache Junction and nearby East Valley communities evaluate maintenance and repair concerns.
You can also request an RV service appointment or contact Main Street RV with questions about the next step.
Keep a post-storm inspection record
Create a simple folder for dated photos, receipts, roof-product information and inspection notes.
After each major storm, record:
- The date and type of weather
- Areas inspected
- Damage or changes found
- Temporary steps taken
- Products used
- Professional repairs completed
This record helps you recognize a developing problem instead of rediscovering it after every storm.
A small leak should not get a sequel
Arizona monsoons are dramatic enough without inviting water into the cast.
Once conditions are safe, inspect the exterior, look inside cabinets and ceilings, document anything suspicious and act promptly when you find moisture. Most importantly, know when the job calls for an RV professional rather than another optimistic tube of sealant.
If your RV shows storm damage or signs of a roof leak, Main Street RV can help you determine an appropriate next step. A careful inspection now may spare you a much less charming surprise later.